Tuesday, June 25, 2013

TECHNIQUES IN CHOCOLATE

June 25, 2013


I learned today that our current chef will be teaching our next class which I am ecstatic that I have him as an instructor again.  Next up will be Artisan Breads and Viennoiserie (baked goods made from a yeast-leavened dough in a manner similar to bread).

Today we assembled the structural elements, made additional accessories, added the finishing touches, and completed the chocolate chef.  Not everything went as planned but we completed the task at hand. 


Completed Chocolate Chef

After two days of tempering chocolate, keeping chocolate in temper, re-tempering chocolate, and crafting accessories from modeling chocolate, my arms are sore and my hands ache, so I can say that I am not necessary disappointed that we have completed the chocolate class but did thoroughly enjoy the class and learned a lot. 


Spraying the chocolate chef with chocolate finish


Placement of the chocolate chef in the window display


Completed chocolate chefs window display


Monday, June 24, 2013

TECHNIQUES IN CHOCOLATE

June 24, 2013


This week is finals and our chocolate class has come to a close. I loved this class and the chef instructor was awesome. 

For chocolate finals we started the practical test today. Our task was to created a chocolate chef with the same team that we had on plated desserts with last week. We worked on completing the structural elements to build the chef today.  

Partial structural chocolate elements to build chocolate chef

I completed the chef hat at home using modeling chocolate along with some other miscellaneous accessories as we did not have time to complete in the kitchen today.

Chef hat made from modeling chocolate


One of the other team members completed the face using modeling chocolate which also was too large of a task to complete during class. 

Chef face made from modeling chocolate


Thursday, June 20, 2013

TECHNIQUES IN CHOCOLATE

June 21, 2013


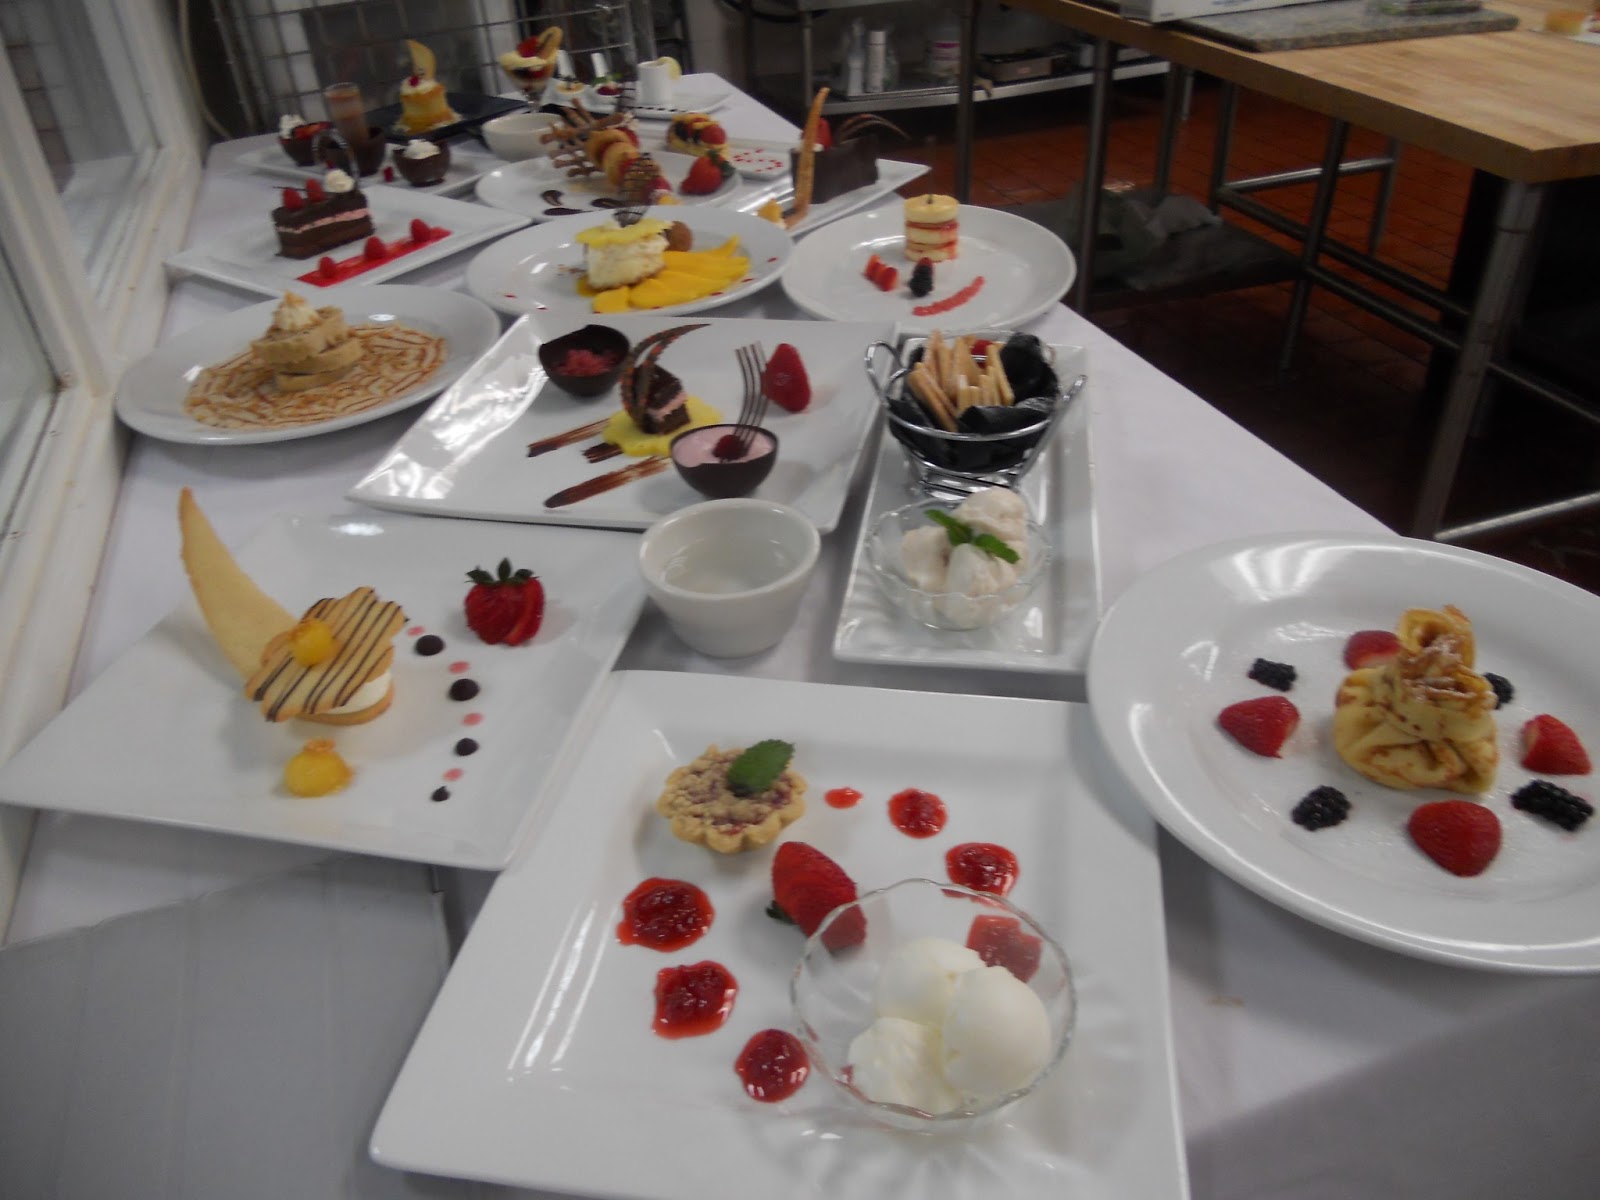
This week the topic was plated desserts.  We divided into teams of four and each came up with a plated dessert.  We learned the four components of plated desserts are the main item, sauce, garnish and crunch.  We needed to incorporate each of these components into our desserts. We produced a dessert menu that we would use in a restaurant that incorporated descriptions for each.
We all helped each other out with the desserts for our team but my dessert was the one I drew in the last class and of course I had no recipe for this dessert so I had to find recipes and piece it together.  I changed the design a bit based on what we learned in class regarding plated desserts. It turned out really good.


Chocolate Raspberry Torte

Rich chocolate cake layered with raspberry mousse and chocolate ganache, topped with fresh raspberries and chocolate disc and served with a raspberry sauce 


Below are the plates made by the other members on my team.

 
Pina Colada Cheesecake

Coconut cheesecake with a graham cracker crust topped with pineapple and served with a mango coulis 


The Pina Colada Cheesecake was quite tasty with the pineapple whipped cream topping.


Fresh Fruit Tart

Dacquoise crust topped with vanilla pastry cream and fresh fruits served with whipped cream and orange sauce


Coconut Caramel Duff

Coconut and walnut roll topped with toasted coconuts and served with a caramel rum sauce


We plated two of each dessert. Once all the desserts were completed by the class we placed one in the window and then got to taste each of the desserts.

Plated Dessert Window Display


Thursday, June 13, 2013

TECHNIQUES IN CHOCOLATE

June 13, 2013

Today was an interesting and fun day in the kitchen. We had saved some of the vanilla ice cream base from yesterday and got to work with liquid nitrogen. 

We started by filling a bowl with liquid nitrogen. 


We then drizzled the vanilla ice cream base into the bowl. 


The end result was dipping dots. 
Dipping Dots


We also created an ice cream bowl by taking a ladle and dipped it in the ice cream base.


 The ladle was then dipped into the liquid nitrogen. 


 Then the frozen ice was removed from the ladle.


Ice Cream Bowl

After the liquid nitrogen, we moved on to making bananas foster. We started by cutting the ends off a banana and cutting it into slices.

  We then added butter to a saucepan and melted.

 Brown sugar was added.


 Then the banana slices. 


And last but not least, the rum was added to the pan.


After the rum was cooked off, the mixture was poured over a scoop of ice cream.


Bananas Foster

We also made a chocolate souffle. 

Chocolate Souffle


After the souffle, our team made rocky road ice cream.  We made the French ice cream base and then added to the ice cream machine. 


We chopped nuts and then used the liquid nitrogen to freeze the chopped marshmallows. 


Once the ice cream was done, we folded in the chopped nuts and marshmallows.  

Rocky Road Ice Cream


Wednesday, June 12, 2013

TECHNIQUES IN CHOCOLATE

June 12, 2013

We divided into teams and each group was given specific frozen desserts to make. We were each assigned a dairy based (ice cream), fruit based (sorbet) and still frozen dessert (desserts that are frozen without stirring but air is incorporated first). Our group had French style ice cream, apple sorbet, and parfait.  

We opted for vanilla as our ice cream flavor. French style ice cream simply means it includes egg yolks. To make the ice cream, we mixed the milk, cream, part of the sugar, and vanilla bean in a saucepan and brought it to a boil. We whipped the egg yolks and the second part of the sugar together. Then we tempered the hot liquid with the egg-sugar mixture. We returned the mixture to the stove and bought it to Nappe (coating the back of a spoon). We then churned the mixture in an ice cream machine and placed into pyramid molds and topped with a dacquoise (a nut meringue cake).  When turned out of the molds, the dacquoise was on the bottom which will absorb the ice cream as it melts.


For the apple sorbet, we peeled green apples. We then blended the apple pieces in a food processor. Next we mixed in the water, granulated sugar and corn syrup.  Once this was mixed to a fine puree, we added a little lemon juice. The sugar density range for a sorbet should between 16% to 18% so we tested the level with a Baume (baa-may) hydrometer.  We adjusted the mixture to add a bit more sugar and then churned it in the ice cream machine.  Because we added the lemon juice, the mixture turned out like a sour green apple flavor.  This was my favorite sorbet that was made.


Next we completed the parfait. A parfait is layered. The word actually means perfect layers. We decided on a white chocolate and raspberry parfait.  To make the parfait we combined egg yolk and sugar and whipped over heat until the sugar was dissolved and the mixture thickened.  Then we simply folded in cream that was whipped to medium peak, divided the mixture in half and added flavoring.  For the mold, we lined a PVC pipe that was cut in half with acetate and secured the ends with acetate and cardboard.  We layered the mousse alternating between the white chocolate and raspberry and then covered with dacquoises and froze.  

With the extra parfait, we also filled PVC pipes lined with acetate.  We added dacquoises and nuts first and then layered the mousse and froze.


Ice creams that were made were by other teams included caramel, pistachio, and green tea.  The caramel and pistachio ice creams turned out good however the green tea was not good at all. 


Caramel Ice Cream

Pistachio Ice Cream
Green Tea

Other sorbets made included mango, lemon, and raspberry. The lemon sorbet was also a favorite of the group. 
Mango Sorbet


Lemon Sorbet


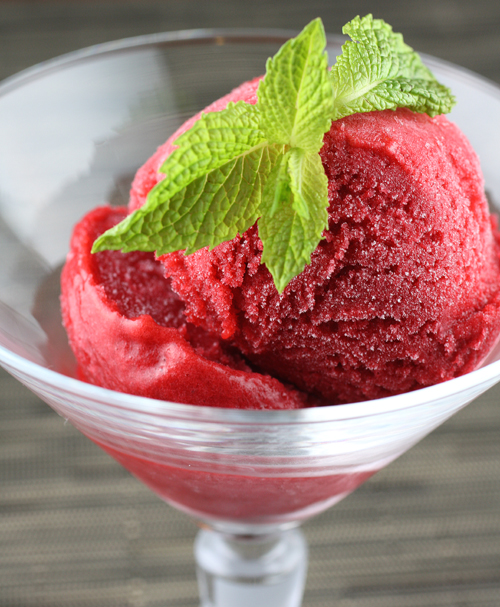
Raspberry Sorbet


A raspberry granite was also made. A granite (grah nee tay) is like sorbet but with a lower sugar content.  It is made with 4 parts liquid to 1 part sugar.  The group consensus was that it tasted like watered down Kool-aid.


Raspberry Granite


Tuesday, June 11, 2013

TECHNIQUES IN CHOCOLATE

June 11, 2013

We continued on with learning about frozen desserts.  We reviewed the different types of stabilizers and emulsifiers, the formulas for each type of frozen dessert along with the mixing methods.

Monday, June 10, 2013

TECHNIQUES IN CHOCOLATE

June 10, 2013

This week we will be learning frozen desserts.  This includes ice creams, sherbets, and sorbets. We learned specifics on dairy products, sweeteners, and flavorings today.


Thursday, June 6, 2013

TECHNIQUES IN CHOCOLATE

June 6, 2013

We worked on assembly and completion of the showpiece.  

First we selected a granite stand for the showpiece to sit. We wrapped the granite with cellophane as the piece will be sprayed with a coating of chocolate. We then started assembly of the base plate, separating piece, the second base plate and the half sphere that the pole will be placed in. 


Next we added the pole in the center of the half sphere and filled with chocolate. Once the pole was set, we added the first seahorse at the top of the pole.


We continued to attach each of the elements to the pole. 


Once the pieces were attached and set, we sprayed the entire structure with a coating of chocolate.


After the chocolate had dried, we then added the the seaweed, bubbles, and finishing touches.


Wednesday, June 5, 2013

TECHNIQUES IN CHOCOLATE

June 5, 2013

Plan B was in full effect as we started to make all the structural components that would be used to create the showpiece.  

We began with cutting a PVC pipe to 2', lined the inside with parchment paper, duct taped one end, and created a cardboard stand for the pipe to site upright on its own.  We then poured tempered chocolate into the pipe and let it set overnight.


We continued by cutting poster board into shapes to used as templates to cut out the two base chocolate plates that the chocolate pipe would sit on, the seahorses, the fish shapes, and the seaweed. We also selected some different size chocolate molds to create bubbles that would be placed  throughout the centerpiece. 


Once the chocolate was tempered, we poured it onto a  flat surface with metal bars as a frame and smoothed the chocolate to a even flat surface.


Once the chocolate set but was still pliable, we used the templates to cut the pieces out of the chocolate.  


We completed all the structural elements necessary to assemble the showpiece tomorrow. Each of us took a fish or seahorse home and used modeling chocolate to add the detail and depth to the pieces.  Below is the fish that I completed.  It took approximately 2-1/2 hours to complete the modeling on this piece.