July 31, 2013
The agenda in the kitchen today was to roll out the croissant dough made yesterday and make bagels.
The bagel dough was very easy to make. After working with so many different doughs for the last couple weeks, I noted right away that this particular dough was a much tougher dough than those we have worked with so far. Each team made a different type of bagel (plain, marble, cheese, garlic herb, cinnamon raisin).
After taking the dough out of the mixer we scaled the dough into two and one-half ounce portions and then rolled them into a tube shape and let them proof half way.
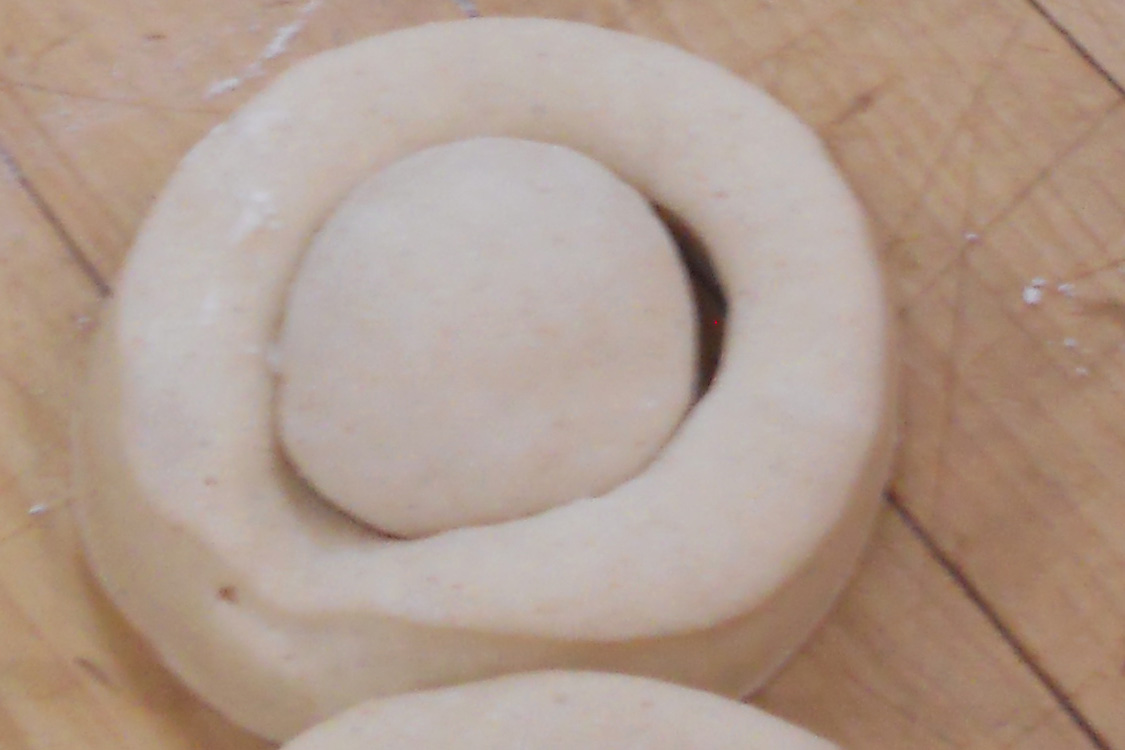
We then rolled them out a bit further and connected the two ends and rolled the dough through the center at the seam to form the circle. We then boiled the dough in a water and honey mixture on the stove for one minute.
The bagel dough was very easy to make. After working with so many different doughs for the last couple weeks, I noted right away that this particular dough was a much tougher dough than those we have worked with so far. Each team made a different type of bagel (plain, marble, cheese, garlic herb, cinnamon raisin).
After taking the dough out of the mixer we scaled the dough into two and one-half ounce portions and then rolled them into a tube shape and let them proof half way.
 |
| Bagel Dough |
We then rolled them out a bit further and connected the two ends and rolled the dough through the center at the seam to form the circle. We then boiled the dough in a water and honey mixture on the stove for one minute.
 |
| Boiled Bagel Dough |
After the bagels were boiled, some were topped with herbs, cheese, or seeds.
Once the bagels were prepared, they were baked at 450F for about 20 minutes. They turned out looking great. We made some different cream cheeses (plain, honey, herb) to go with the bagels and had a tasting.
The bagels had a nice crust and were soft in the center making them easy to eat and not chewy. The favorite of the group was the cinnamon raisin bagel. This was also my favorite of all the bagels as well.
While the bagels were proofing, we also worked on the croissant dough. The croissant dough is just like the danish dough in that it has the fat (butter) locked in and folded. The number times the dough is turned and folded changes from three to five for croissant dough.
We removed our dough from the refrigerator that we made yesterday.

We then rolled out the butter (after a bit of hammering down) and placed it on half of the dough.

The dough without the butter was then folded over on top of the butter and the sides pressed down to lock it in.

Once this was complete, the roll out and folding process began.

As you roll out the dough you can actually see where the butter is in between the dough. Once rolled out to the desired length, the dough is folded in thirds.

As the dough is folded, the edges are lined up evenly.

We completed this process two more times working as quickly as possible so that the butter does not become too warm. If the butter becomes too warm it starts to melt and mix into the dough, which you do not want, so it would require that you refrigerate until cool again to complete the task. After we completed the turns with our croissant dough, we placed it back in the refrigerator to relax the gluten overnight and we will complete the remaining two folds tomorrow.
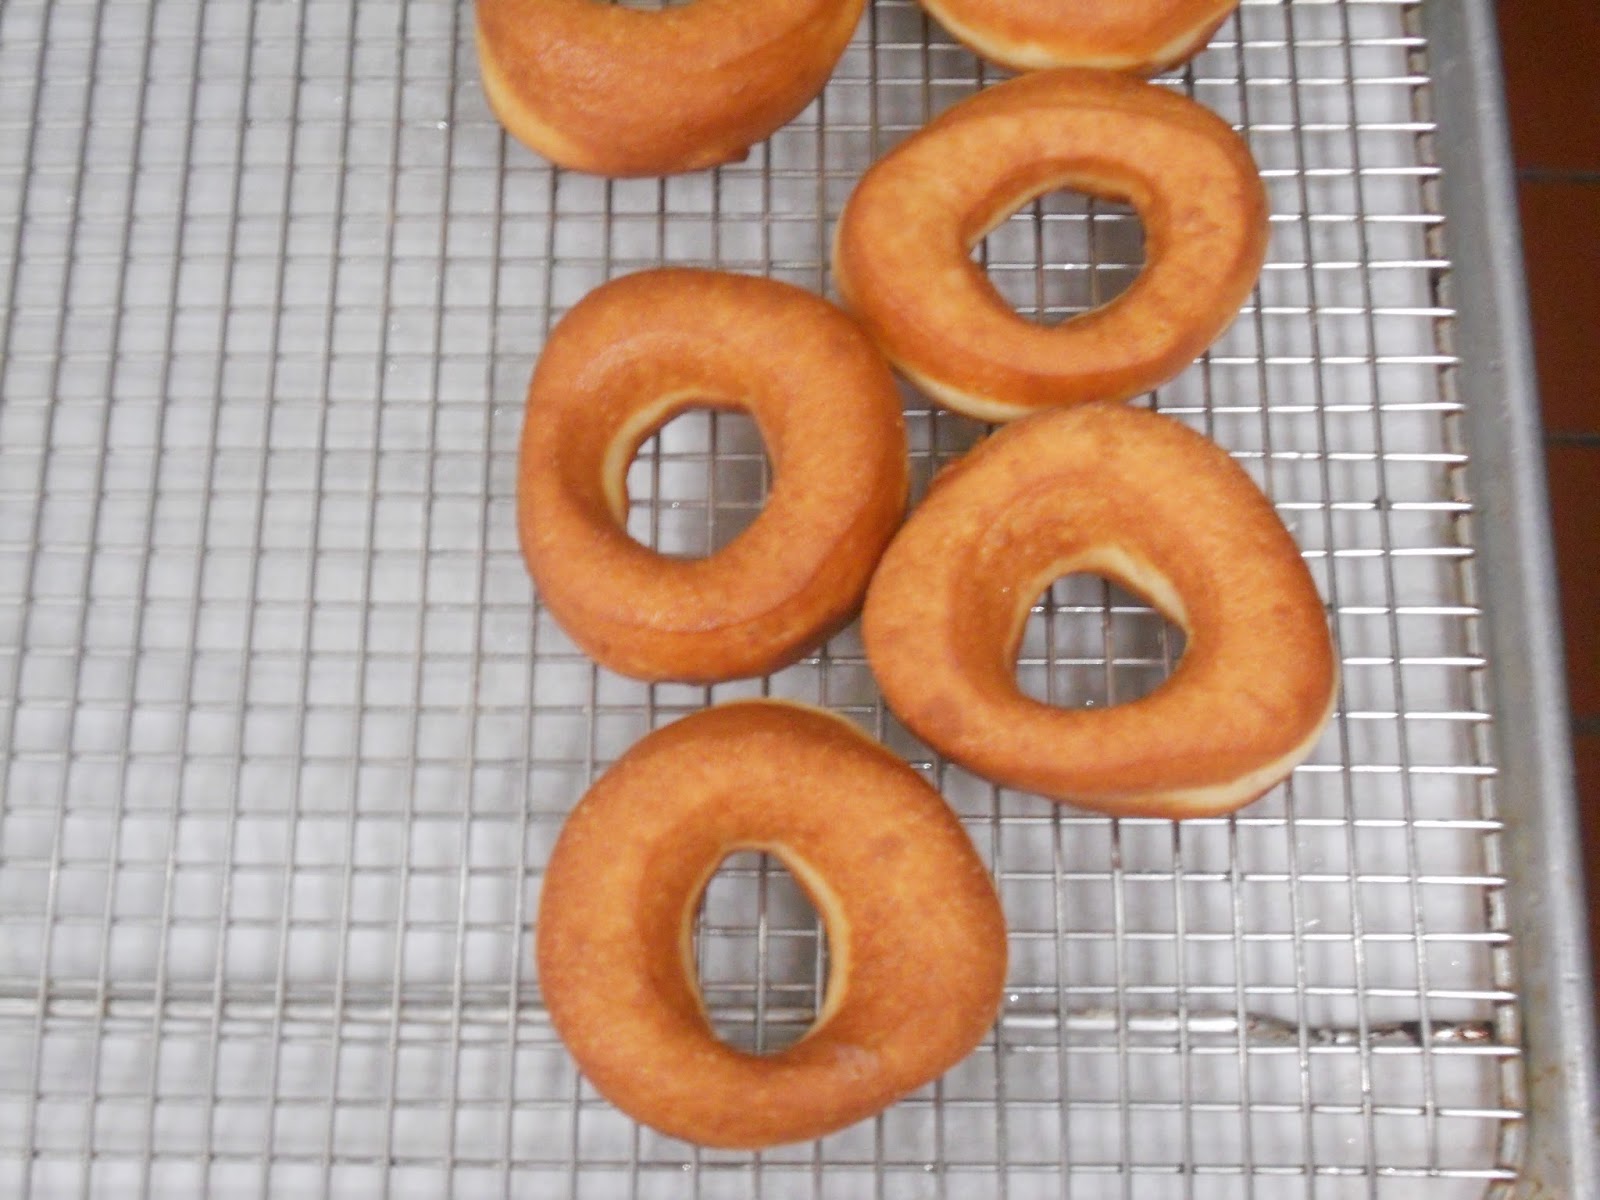
 |
| Bagels prepped for baking |
Once the bagels were prepared, they were baked at 450F for about 20 minutes. They turned out looking great. We made some different cream cheeses (plain, honey, herb) to go with the bagels and had a tasting.
 |
| Herb and Seed Bagels |
 |
| Plain and Everything Bagels |
 |
| Parmesan Bagels |
The bagels had a nice crust and were soft in the center making them easy to eat and not chewy. The favorite of the group was the cinnamon raisin bagel. This was also my favorite of all the bagels as well.
 |
| Cinnamon Raisin Bagel |
While the bagels were proofing, we also worked on the croissant dough. The croissant dough is just like the danish dough in that it has the fat (butter) locked in and folded. The number times the dough is turned and folded changes from three to five for croissant dough.
We removed our dough from the refrigerator that we made yesterday.
We then rolled out the butter (after a bit of hammering down) and placed it on half of the dough.
The dough without the butter was then folded over on top of the butter and the sides pressed down to lock it in.
Once this was complete, the roll out and folding process began.
As you roll out the dough you can actually see where the butter is in between the dough. Once rolled out to the desired length, the dough is folded in thirds.
As the dough is folded, the edges are lined up evenly.
We completed this process two more times working as quickly as possible so that the butter does not become too warm. If the butter becomes too warm it starts to melt and mix into the dough, which you do not want, so it would require that you refrigerate until cool again to complete the task. After we completed the turns with our croissant dough, we placed it back in the refrigerator to relax the gluten overnight and we will complete the remaining two folds tomorrow.