Wednesday, July 31, 2013

ARTISAN BREADS AND VIENNOISERIE

July 31, 2013


The agenda in the kitchen today was to roll out the croissant dough made yesterday and make bagels. 

The bagel dough was very easy to make.  After working with so many different doughs for the last couple weeks, I noted right away that this particular dough was a much tougher dough than those we have worked with so far.  Each team made a different type of bagel (plain, marble, cheese, garlic herb, cinnamon raisin).

After taking the dough out of the mixer we scaled the dough into two and one-half ounce portions and then rolled them into a tube shape and let them proof half way.   


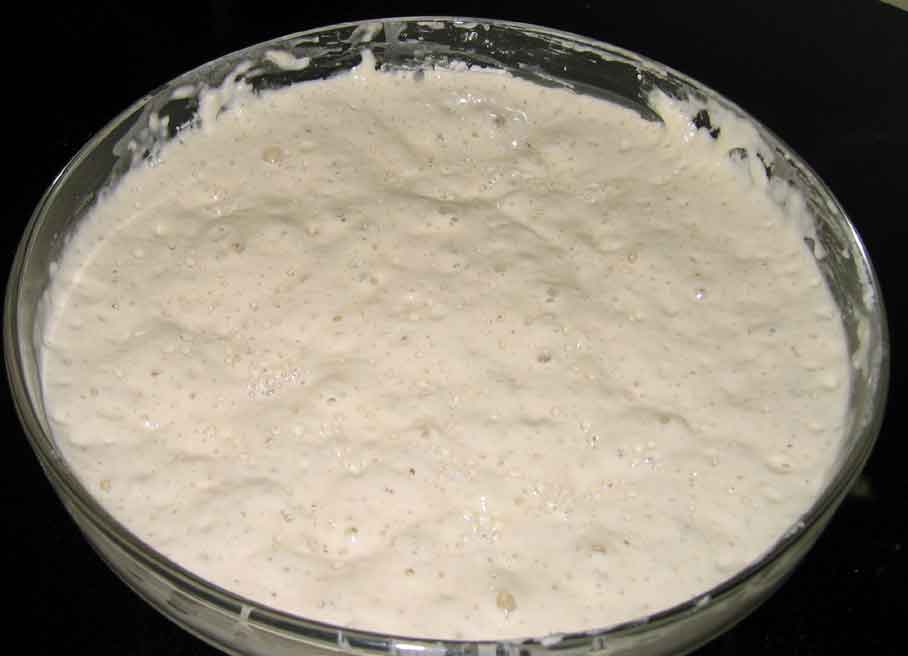
Bagel Dough

We then rolled them out a bit further and connected the two ends and rolled the dough through the center at the seam to form the circle.  We then boiled the dough in a water and honey mixture on the stove for one minute.


Boiled Bagel Dough

After the bagels were boiled, some were topped with herbs, cheese, or seeds.


Bagels prepped for baking

Once the bagels were prepared, they were baked at 450F for about 20 minutes.  They turned out looking great.  We made some different cream cheeses (plain, honey, herb) to go with the bagels and had a tasting.


Herb and Seed Bagels

Plain and Everything Bagels

Parmesan Bagels

The bagels had a nice crust and were soft in the center making them easy to eat and not chewy.  The favorite of the group was the cinnamon raisin bagel. This was also my favorite of all the bagels as well.


Cinnamon Raisin Bagel

While the bagels were proofing, we also worked on the croissant dough. The croissant dough is just like the danish dough in that it has the fat (butter) locked in and folded.  The number times the dough is turned and folded changes from three to five for croissant dough.  

We removed our dough from the refrigerator that we made yesterday.  


We then rolled out the butter (after a bit of hammering down) and placed it on half of the dough.


The dough without the butter was then folded over on top of the butter and the sides pressed down to lock it in.


Once this was complete, the roll out and folding process began.


As you roll out the dough you can actually see where the butter is in between the dough.  Once rolled out to the desired length, the dough is folded in thirds. 


As the dough is folded, the edges are lined up evenly. 


We completed this process two more times working as quickly as possible so that the butter does not become too warm.  If the butter becomes too warm it starts to melt and mix into the dough, which you do not want, so it would require that you refrigerate until cool again to complete the task.  After we completed the turns with our croissant dough, we placed it back in the refrigerator to relax the gluten overnight and we will complete the remaining two folds tomorrow.




Tuesday, July 30, 2013


ARTISAN BREADS AND VIENNOISERIE

July 30, 2013


Today we made yeast-raised doughnuts!  The dough was made yesterday and refrigerated overnight. Today in the kitchen we were shown how to work the dough and cut the shapes.  

First the dough was pressed out and rolled.


Donut Dough

Then the dough was cut into different shapes.


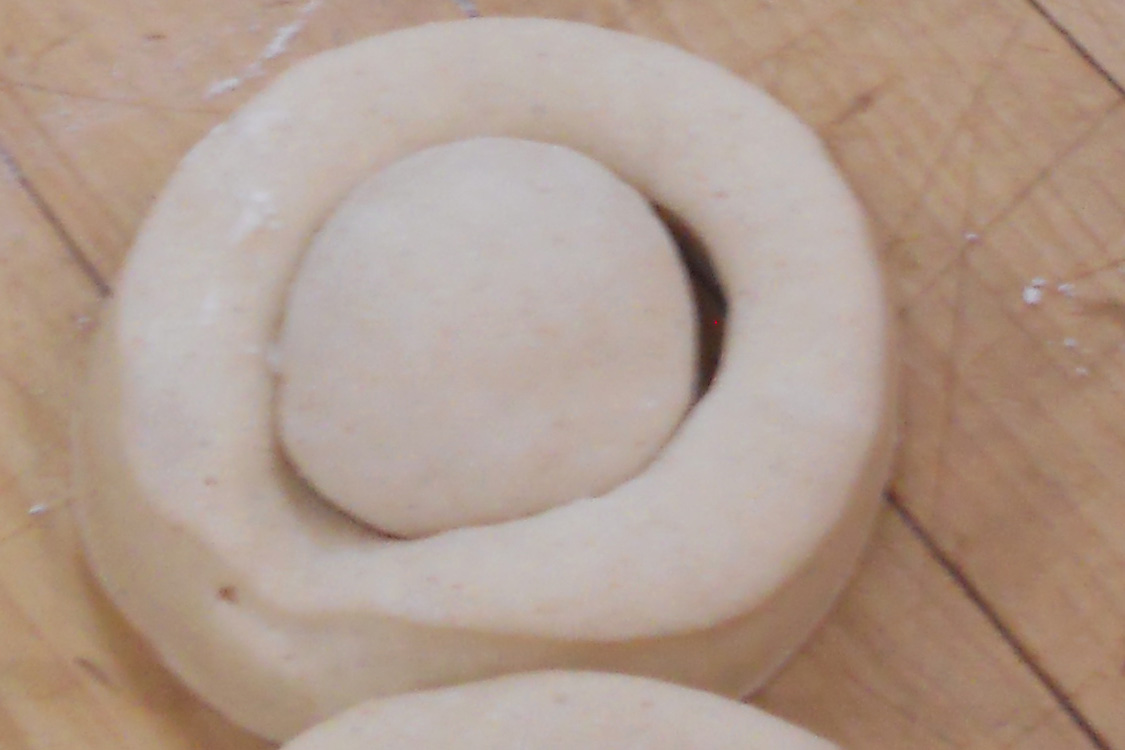
Ring Doughnut 
Doughnut hole cut

Ring and Long John Shapes


Knots and Twists
The shaped doughnuts were then proofed to 80% at 80 degrees.  


A pot of oil was heated to 360 degrees and the donuts were fried. 


Doughnuts placed in 360 degree oil

Doughnuts turned after frying for a minute

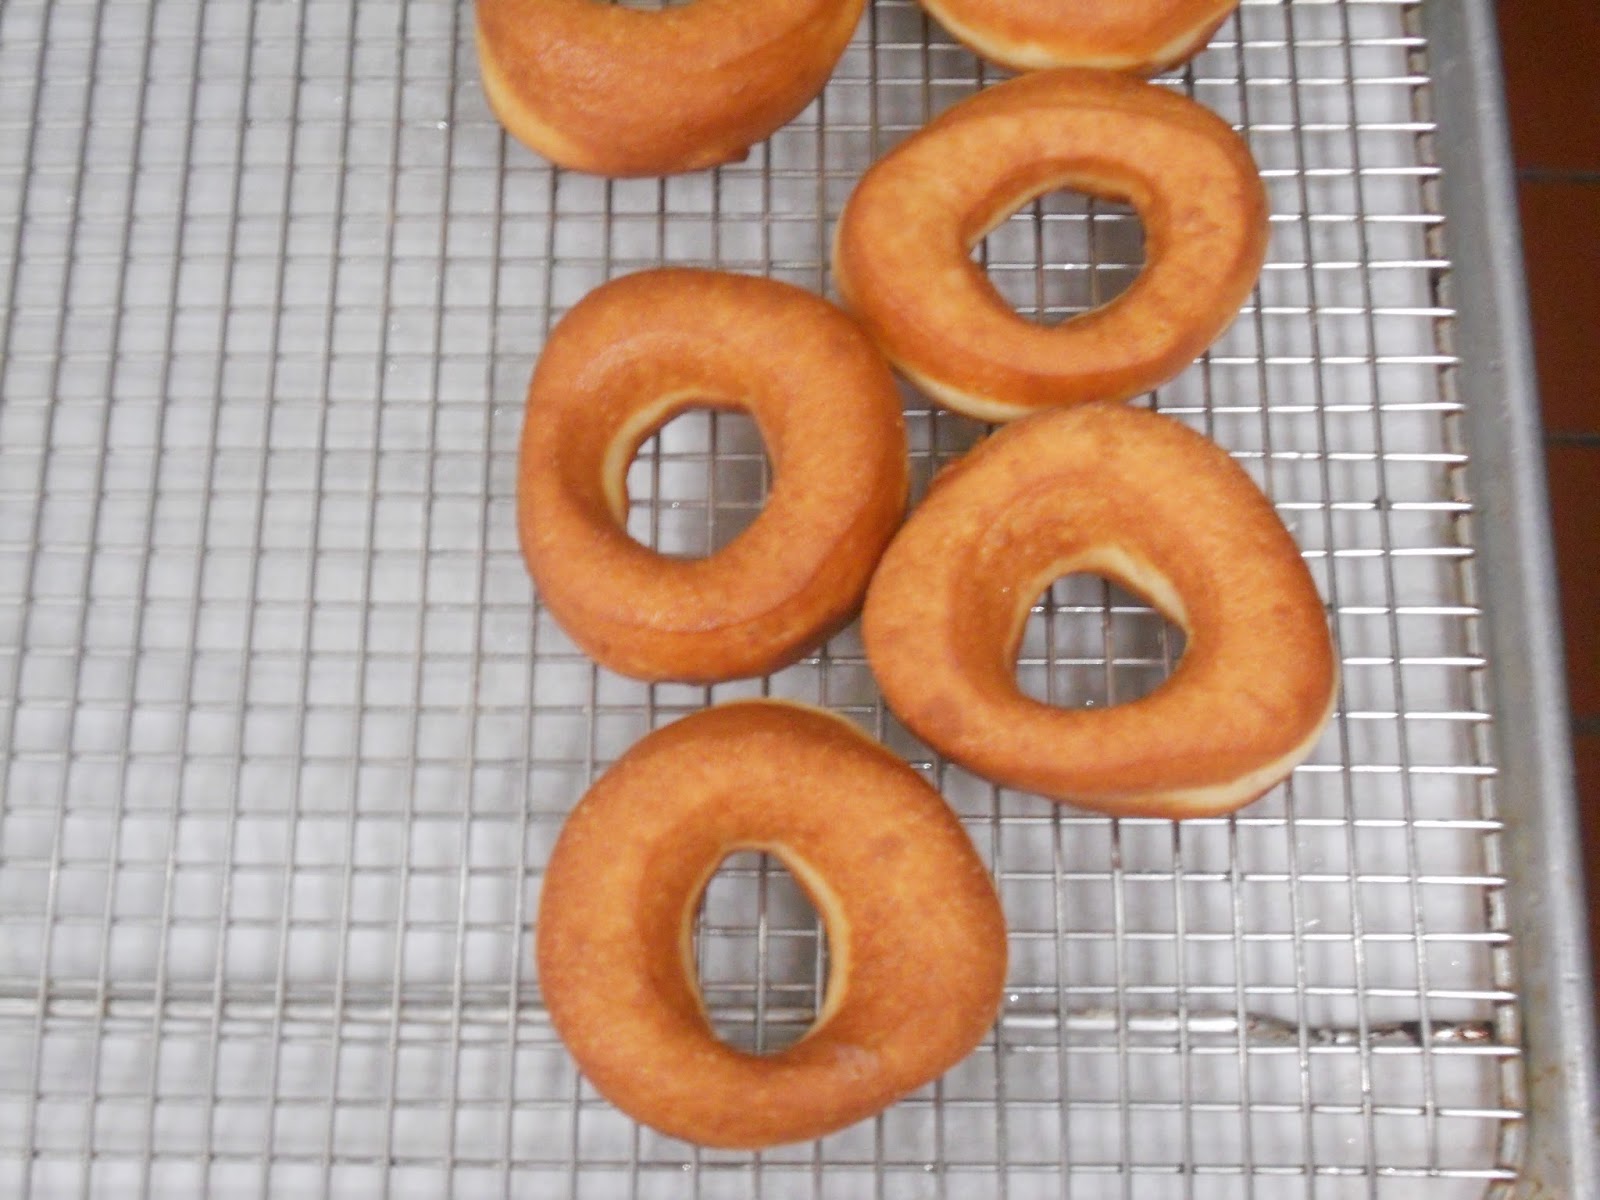
Doughnut removed from oil onto cooling rack


After the doughnuts were placed on the cooling rack, they were dipped in powdered sugar glazes (raspberry, chocolate, and plain), and then topped with chocolate or rolled in a cinnamon sugar. 


Raspberry and Chocolate Glazed Doughnut Rings

I could have eaten several but limited myself to just one of the chocolate glazed doughnut.  It was really delicious!


Sugared Doughnut Holes


Plain Glazed Long John


We also made croissant dough today that we will be working with all this week. Once made it was placed into the refrigerator to relax overnight. 

Thursday, July 25, 2013

ARTISAN BREADS AND VIENNOISERIE

July 25, 2013


Yesterday we had also made the dough for danish and placed it in the refrigerator overnight.  Today we locked-in the butter, rolled out the dough, and made up danish. 

We started with a refresher on some of the standard danish shapes we learned in the baking intro class. 

Half Pocket Apricot 


Half Pocket Apricot Makeup


Full Pocket Makeup

Snail Makeup

We then learned some new danish shapes for make up and practiced all the danish shaping on our own.

Spiral Makeup

Braid Makeup


Pretzel Makeup

After make up was complete, we proofed the danish, cleaned up the kitchen, finished the danish after proofing and then baked them.  

Proofed Danish ready to bake

After baking was complete, we brushed the danish with a simple syrup and topped them with a fondant glaze. Unlike the danish made in the intro class these danish turned our wonderful and tasted great.


Raspberry Danish with Fondant Glaze

Cream Cheese Danish with Fondant Glaze
Danish Window Display


Wednesday, July 24, 2013

ARTISAN BREADS AND VIENNOISERIE

July 24, 2013


This week we had a substitute Chef in while the regular Chef was out. We continued on with practicing our rolling techniques of dough.  The Chef challenged the class to roll out some dough together as long as possible to help with our technique and team work skills. We carried it outside the kitchen and down the hallway to measure.  I think our end product was measured at about 14'.   The Chef said we would have to try it again the last week of class to see if we could surpass it.

One of the breads we made today was Rye Bread. Our flour was not scaled properly and ended up adding less rye flour and more patent flour to the mix. With the help of the Chef the dough turned out fine but our dough was lighter in color than the others.


We sampled the bread after it was baked. The Rye Bread had a strong caraway flavor and would have tasted really good with some pastrami.

Rye Bread

The second bread we made was a multigrain bread.  

Because we were short on time, we did not let the multigrain ferment as long as need so the tops of the bread split but the the bread had a good flavor.

Multigrain Bread


Thursday, July 18, 2013

ARTISAN BREADS AND VIENNOISERIE

July 18, 2013


Today we made three different types of rich yeast breads: Potato Cheddar Loaf, Challah and Brioche.

For the Potato Cheddar Loaf we had boiled the potatoes yesterday and put them into the refrigerator to cool overnight so they would be a good temperature for the dough.  We left the skins on the potatoes for additional nutritional value. The loaves were shaping into round balls and slits were cut around it to allow for expansion.  The bread was dense with a good flavor.


Potato Cheddar Loaf


Challah bread is a braided bread so the Chef showed us how to properly braid the dough using six strands. 


We only worked with the two outside strands to braid the dough but move the strands outward as we worked the braid so all strands were used.


Prior to baking we added a wash and sesame seeds. I have learned that I do not like sesame seeds on my breads.  This bread was very dense but had a good flavor to it.

Challah

The Brioche dough was made yesterday and left to ferment in the refrigerator overnight to develop flavor.  We made several different types and shapes of breads with the Brioche.  First we made a plain knot.


We also spread the Brioche dough out in half sheet pans and topped them with plain streusel, chocolate streusel, almonds, and coconut.

Brioche with Streusel Topping

I was not a fan of the sheets of Brioche with toppings as some were doughy and others were too sweet. 

Baked Brioche with Various Toppings

Lastly we made a Chocolate Brioche.  We flatten the dough and added dark chocolate wafers. The dough and chocolate was cut up to mix in the chocolate and then shaped into balls.


The Chocolate Brioche received an egg with half-and-half wash and once baked sugar was sprinkled on top.  

Chocolate Brioche

Of all the breads made this week the Chocolate Brioche was by far my favorite with just the right amount of sweetness and chocolaty goodness!  I will definitely be making these again.


Wednesday, July 17, 2013

ARTISAN BREADS AND VIENNOISERIE

July 17, 2013


This week we discussed the different types of yeast (fresh compressed, dry active and instant)  along with gluten development, which provides the structure and elasticity in breads, in the classroom.

Today we made three different types of lean yeast breads: Pullman Loaf, Fougasse with Olives, and Cibatta. 

The Pullman Loaf was derived from the bread's used in the compact kitchen of the Pullman railway cars, named after George Pullman, who developed sleeping cars on trains. Block shaped pans were used to create block shaped loaves to maximize the use of tight space in the trains' kitchens.  

This loaf is sometimes called sandwich loaves and tasted just like sandwich bread you purchase in the store.
Pullman Loaves

Fougasse is sculpted into a pattern.  Some look like large leaves, others like ears of wheat or a tree. This shape is to optimize the crustiness.  The dough is flatten and rolled out with a rolling pin. The dough was difficult to cut for shaping but the Chef showed me that if you make a quick firm cut in the dough it cuts much easier.

Fougasse with Olives sculpted dough

Fougasse was traditionally baked to estimate the temperature of the oven which it was cooked. The time it would take to bake gives an idea of the oven temperature. Fougasse can be made with slight variations. We made ours with Olives.  The bread is meant to be eaten with olive oil and balsamic. 


Ciabatta is an Italian white bread, the literal translation of the word is slipper because of its shape.  Of three breads made today, this was the favorite of the group.  Perfect for making delicious sandwiches!

Ciabatta


Thursday, July 11, 2013

ARTISAN BREADS AND VIENNOISERIE

July 11, 2013


This week we started Artisan Breads and Viennoiserie (baked goods made from a yeast-leavened dough in a manner similar to bread).  In class we went over the function of flour, the different grades of flour, aging and bleaching of flours and proper storage.   

In the kitchen we began by making a yeast sourdough starter which we call our sourdough babies and each team named them. My team named our sourdough baby "Gru". The sourdough starter was made of:

10 oz. of unbleached patent flour
 2 oz. of whole wheat flour
 8 oz. of lukewarm water

It was mixed together in a bowl for about 5 minutes with our hands then we wrapped it up in a container with plastic wrap.  It will take about a week to grow. We are required to feed the baby every day by adding equal parts unbleached flour and water. The container that the starter is stored in must be cleaned each time the baby is fed. As the baby grows, some days we will be removing some of the mixture and other days just adding to the mix. We will use this sourdough starter in breads we make next week.

We also made Cuban Bread, Italian Bread, and French Baguettes.