Friday, November 15, 2013

TECHNIQUES AND ARTISTRY IN SUGAR

November 15, 2013

Continuing working with sugar, we made a second show piece out of sugar.  We started with a different base, again casting sugar into molds and assembled the base.


We then cast different colored sugars into a template in stages.  We first started with a heart.


Once the heart had harden, we cast the stand piece and add some color into the stand.


We also cast the inside heart piece.


Once the inside heart had set up, we added texture with a chef knife to the heart.


After all the pieces were cast and hardened, we assembled the piece very carefully.


We added roses, ribbon, and an envelope for finishing touches.


Our team piece was the only one that made it to the display window today without breaking into pieces.


Thursday, November 14, 2013

TECHNIQUES AND ARTISTRY IN SUGAR

November 14, 2013

This week we started Sugar class.  We learned how to cook sugar properly, learned some various sugar techniques,  and made a couple of artisan sugar pieces.  


Just like chocolate we made the different components to assemble the piece.  We  started by casting sugar into molds to create the base feet and the base. 


We then made pulled sugar and shaped the trunk. 


We made more pulled sugar and learned how to make pedals for the roses along with the stems and the leaves. 


We made a background piece using sugar and Isomalt, a sugar that has been chemically altered to absorb less moisture and withstand higher cooking temperatures.


When it came to assembly, we started with a piece that was very fragile.


Unfortunately I bumped one of the pieces that was hanging out with my elbow and the trunk broke into pieces, some of which shattered on the floor. It sounded like glass breaking. I was completely devastated. Fortunately several of the trunk pieces were still in tack so the Chef was able help assemble an alternative trunk piece to complete the piece.


Thursday, November 7, 2013

CONTEMPORARY AND CLASSIC CAKES

November 7, 2013

This week we had finals. Our practical final only encompassed one day. We were to make a spongecake, Italian Buttercream, and chocolate filigrees.  We were then required to cut, decorate, and display the cake.  This was the easiest practical final we have had since I started pastry school.


Thursday, October 31, 2013

CONTEMPORARY AND CLASSIC CAKES

October 31, 2013

This week we are making Petit Fours and L'Opera Torte.

For the Petit Fours we made a Joconde Spongecake.  This is a spongecake made with almond flour.  


The spongecake was then covered with raspberry jam.

Another layer of spongecake was placed on top and the process repeated.  Once there were three layers of cake, the cake was sandwiched between bagel boards with weights on top to set over night so the cake would be smooth and level.

For the Opera Torte, the same spongecake was used. The cake was layered with a coffee syrup, chocolate ganache and a coffee buttercream and then weighted over night.


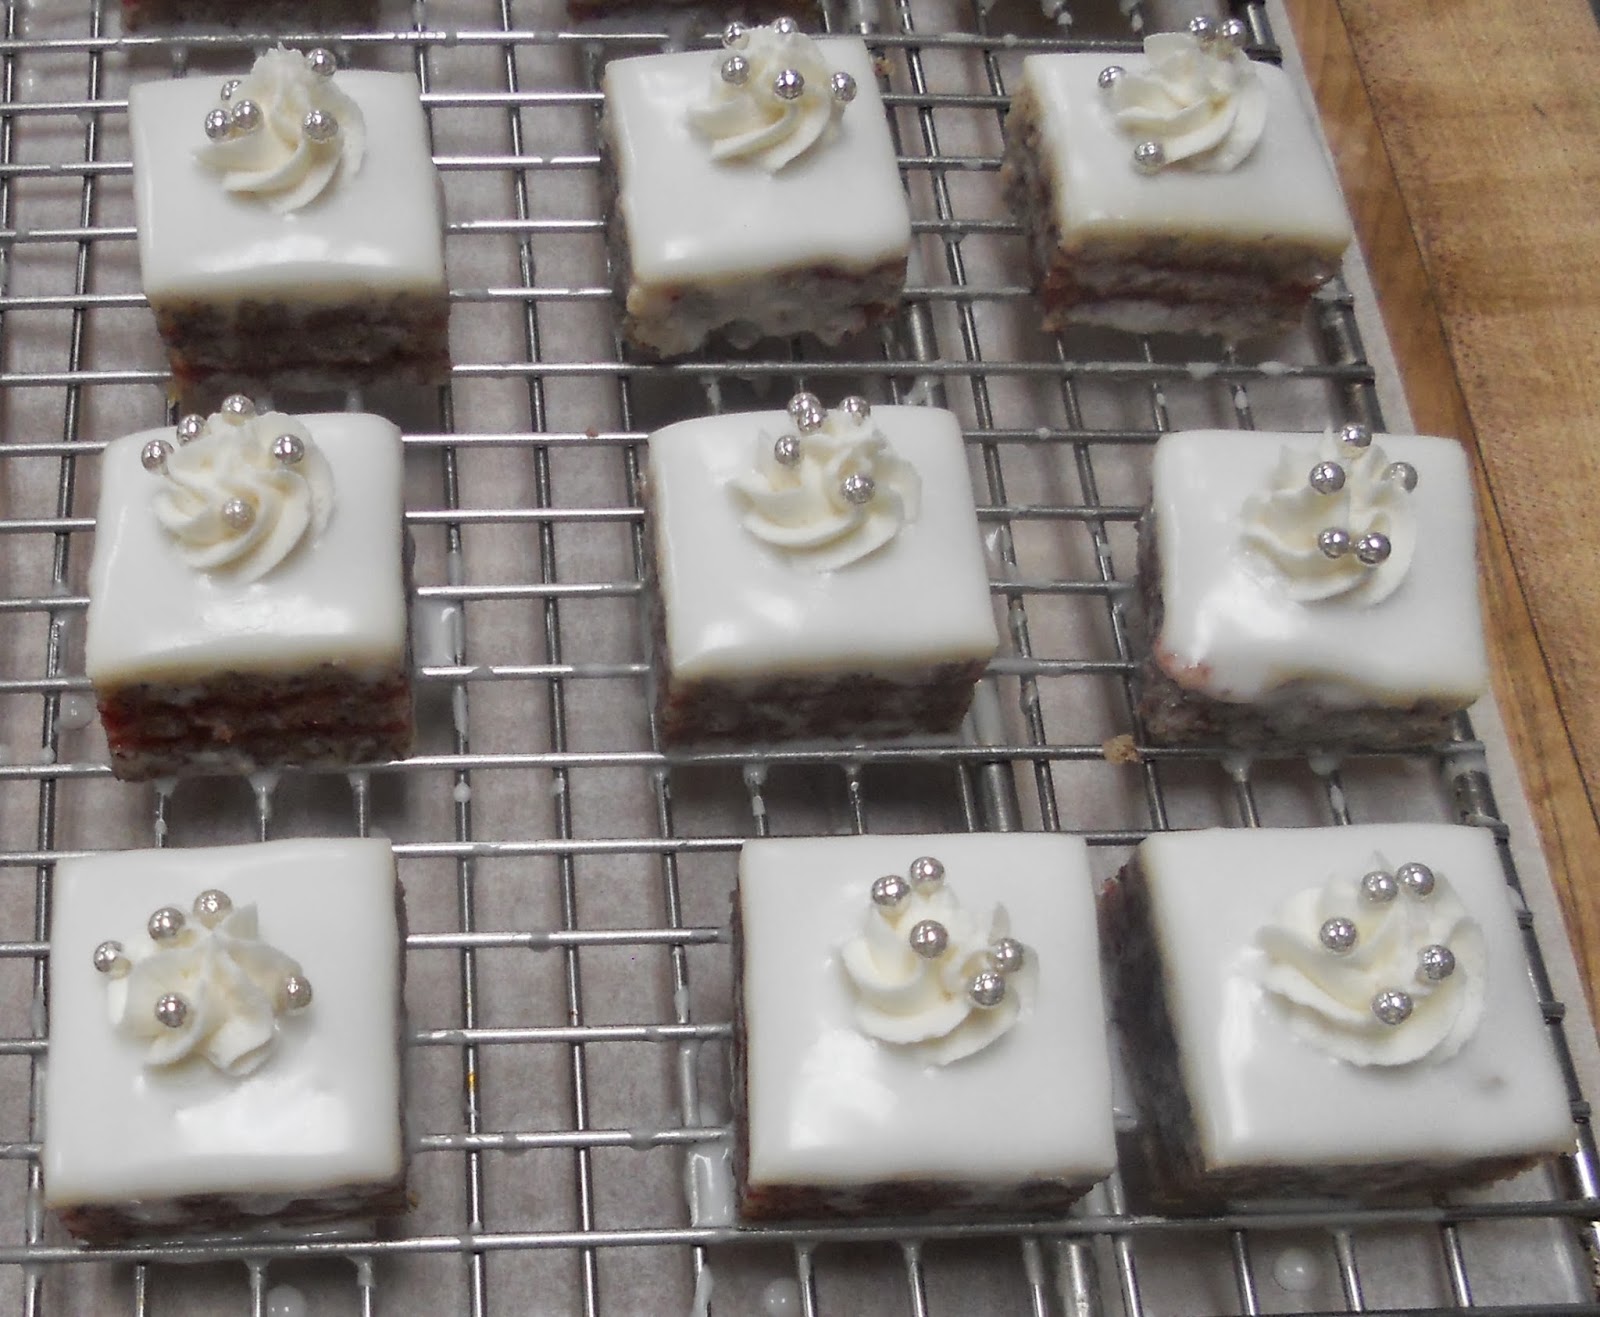
The next day we finished assembly of the Petit Fours and Opera Torte. The Petit Fours were topped with a thin layer of Marzipan (an almond paste/sugar mix) and cut into one and one-quarter inch pieces.


A fondant was poured over the cake to en-robe the cakes. Our fondant was a little thin so it did not cover the sides of the cakes as intended.


One-half of the cakes were then finished with a butter cream rose while the other half were finished with a butter cream dollop and dragées.  I did not like these Petit Fours as they were way too sweet.

Petit Four with Butter Cream Rose


Petit Four with Butter Cream Dollop and Dragées

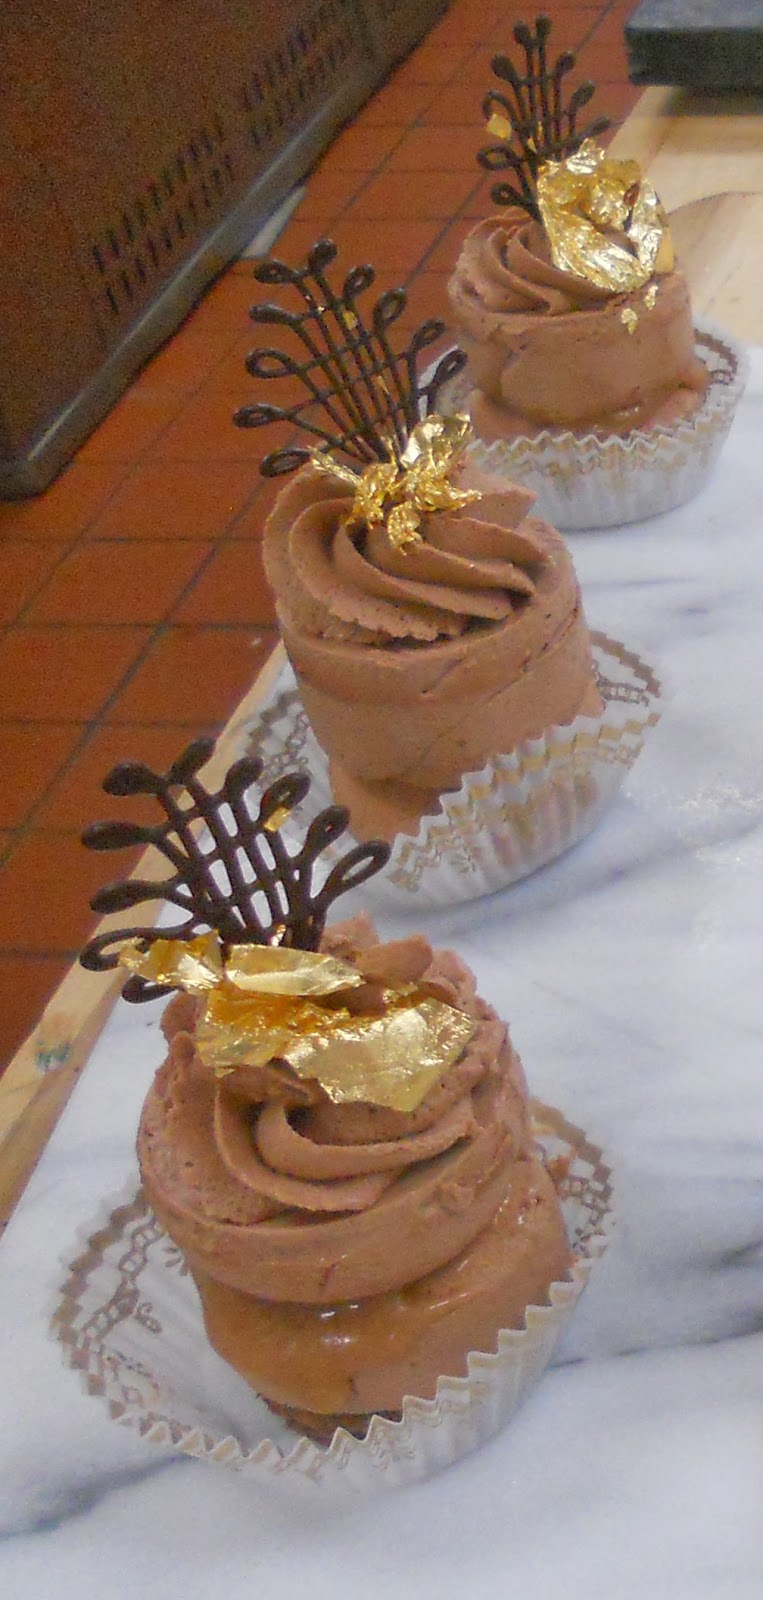
The Opera Torte was finished with a layer of ganache, a butter cream dollop, and a chocolate filigree. These were not bad but had a very strong coffee flavor that seemed a bit over powering.


We also used the extra Carrot Cakes and Devil's Food Cakes to make some additional Petit Fours. The Carrot Cakes had a layer of cream cheese frosting in between and another on top and finished with a butter cream carrot. 


The Devil's Food Cakes had a raspberry jam in the middle and covered with a chocolate mirror glaze, topped with butter cream dollop and a chocolate filigree.


These chocolate cakes were so good I could have eaten a whole tray full. 


Thursday, October 24, 2013

CONTEMPORARY AND CLASSIC CAKES

October 24 , 2013

This week we made three different torte cakes. The first torte we made was a Chocolate Caramel Maxine Torte. This consisted of a Chocolate Sponge Cake on the bottom, a layer of Chocolate Mousse, a layer of Caramel Filling, and a final layer of Chocolate Mousse, topped with a filigree and gold leaf. 

Chocolate Caramel Maxine Torte 

We had used a whipped topping due to a shortage of whipping cream so the mousse had a chocolate Cool Whip taste.  It would have been a much better torte if it was made with whipping cream. 

The second torte we made was a Tiramisu Torte Cake. This consisted of a Lady Fingers soaked in a coffee simple syrup, with a Marscarpone Cream Mousse, topped with whipped cream and Lady Fingers.

Tiramisu Torte Cake
This torte was good but had a very strong coffee flavor to it.  I am guessing this was because the coffee was made with an instant coffee.

The third torte made was a Sacher Torte. This consisted of a Chocolate Sacher Torte Cake.  We split the cakes in half and filled half the cakes with Raspberry Jam and the other half with Apricot Jam. The cakes were also crumb coated with the jam and then a layer of Chocolate Glaze poured on top.  


This torte was a sweet cake with sweet jam and seemed a bit too sweet to me. 

All in all the tortes made were good but none stood out in taste in particular.  


Thursday, October 17, 2013

CONTEMPORARY AND CLASSIC CAKES

October 17, 2013

Today each team made three different cakes, Carrot Cake, Devil's Food Cake and Orange Chiffon. 


I was tasked with making the Devil's Food Cake. Once again, a slight mistake was made on my part. I warmed the butter in the microwave but did not check the temperature prior to mixing.  The butter was still a bit too cool so it did not cream properly with the sugar. There is no fix at that point unless I stopped and waited for the butter to reach room temperature for which I did not have time.  I mixed the rest of the batter using special care to make sure the sugar incorporated properly and the cakes turned out great despite the mistake.


We then decided on a makeup for each cake. The Devil's Food Cake was baked in a silicone mold that had an indented circle on the top.  I made a Chocolate Raspberry Ganache filling to place in the center. Topped with a bit of Italian Butter Cream, a light dusting of powdered sugar, and made a chocolate filigree to place on top. 


The Chiffon Cake was baked in an elongated  ribbed mold. We poured a Chocolate Ganache over them, topped with a bit of Italian Butter Cream and a chocolate rectangle which we made using a transfer sheet.


The Carrot Cake was baked in a dome silicone mold.  The cakes were cut in half and filled with a Cream Cheese Icing. The cakes were then covered in an Italian Butter Cream and coated with a layer of toasted coconut. We made a sugar filigree out of Isomalt and orange food coloring and placed on top.


Wednesday, October 16, 2013

CONTEMPORARY AND CLASSIC CAKES

October 16, 2013

It was all about icings a/k/a frosting today.  Each team made a couple different icings for use on cakes that will be made tomorrow.  My team worked on Fondant Butter Cream and Cocoa Fudge Icing.  

First the Poured Fondant was made.  This was made by taking 100% sugar, 25% water and 25% cornstarch and heating to 240F. Then the mixture was poured on to a granite slab and continually moved around.


As the mixture is being moved, scraped, and left to fall onto of itself, air is incorporated into the mix.  


It is worked until cool and turns white.  This process takes about 10 to 20 minutes.  The Poured Fondant is not only used for cakes but also for topping pastries such as danish. 


The Fondant is then warmed and mixed by hand over a water bath to 110F prior to use.

To make the Fondant Butter Cream, we put the poured fondant into the mixer, add butter and shortening and mixed slowly to incorporate and then mixed on medium until smooth and creamy. 


It is not a butter cream frosting that I would use on a regular basis but it tasted good.

For the Cocoa Fudge Icing, we didn't really follow the formula or the mixing procedure provided in the book but followed directions that the chef provided.  The texture turned out good but it had an extreme bitter chocolate aftertaste.  


It turned out that I used regular cocoa powder instead of the dutched cocoa powder which caused the issue.  Luckily the frosting did not go to waste. The icing was simply mixed with a regular butter cream to mellow the flavor and turned out fine in the end.