June 12, 2013
We divided into teams and each group was given specific frozen desserts to make. We were each assigned a dairy based (ice cream), fruit based (sorbet) and still frozen dessert (desserts that are frozen without stirring but air is incorporated first). Our group had French style ice cream, apple sorbet, and parfait.
 We opted for vanilla as our ice cream flavor. French style ice cream simply means it includes egg yolks. To make the ice cream, we mixed the milk, cream, part of the sugar, and vanilla bean in a saucepan and brought it to a boil. We whipped the egg yolks and the second part of the sugar together. Then we tempered the hot liquid with the egg-sugar mixture. We returned the mixture to the stove and bought it to Nappe (coating the back of a spoon). We then churned the mixture in an ice cream machine and placed into pyramid molds and topped with a dacquoise (a nut meringue cake). When turned out of the molds, the dacquoise was on the bottom which will absorb the ice cream as it melts.
 For the apple sorbet, we peeled green apples. We then blended the apple pieces in a food processor. Next we mixed in the water, granulated sugar and corn syrup. Once this was mixed to a fine puree, we added a little lemon juice. The sugar density range for a sorbet should between 16% to 18% so we tested the level with a Baume (baa-may) hydrometer. We adjusted the mixture to add a bit more sugar and then churned it in the ice cream machine. Because we added the lemon juice, the mixture turned out like a sour green apple flavor. This was my favorite sorbet that was made.
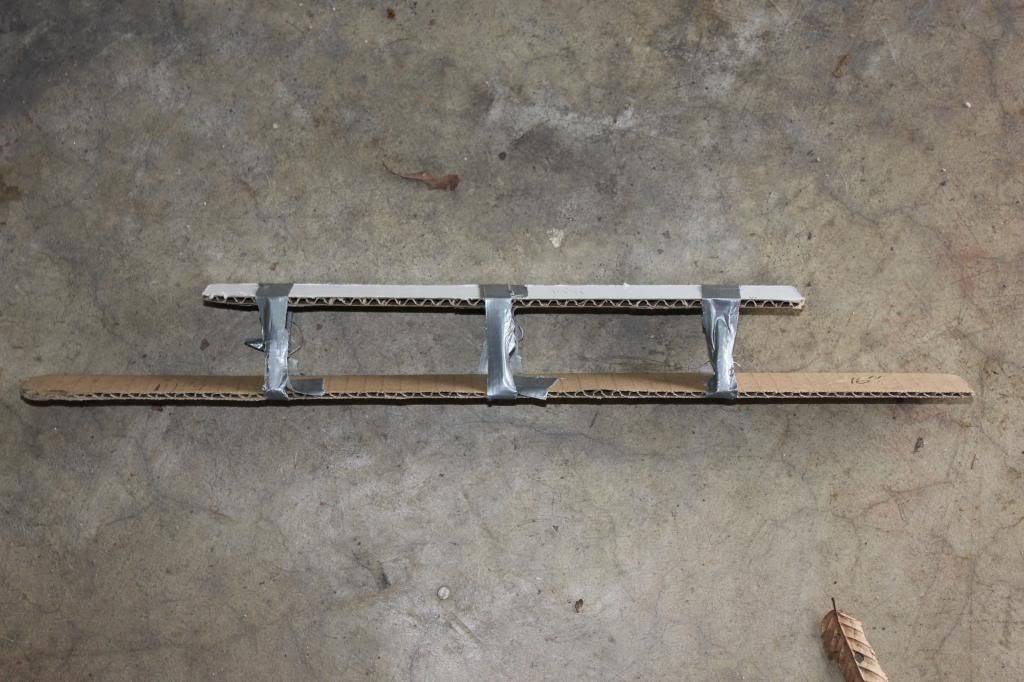
 Next we completed the parfait. A parfait is layered. The word actually means perfect layers. We decided on a white chocolate and raspberry parfait. To make the parfait we combined egg yolk and sugar and whipped over heat until the sugar was dissolved and the mixture thickened. Then we simply folded in cream that was whipped to medium peak, divided the mixture in half and added flavoring. For the mold, we lined a PVC pipe that was cut in half with acetate and secured the ends with acetate and cardboard. We layered the mousse alternating between the white chocolate and raspberry and then covered with dacquoises and froze.
With the extra parfait, we also filled PVC pipes lined with acetate. We added dacquoises and nuts first and then layered the mousse and froze.

Ice creams that were made were by other teams included caramel, pistachio, and green tea. The caramel and pistachio ice creams turned out good however the green tea was not good at all.
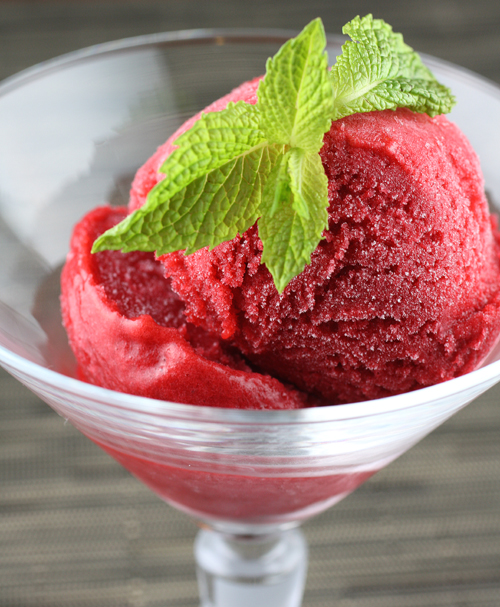
Other sorbets made included mango, lemon, and raspberry. The lemon sorbet was also a favorite of the group.
A raspberry granite was also made. A granite (grah nee tay) is like sorbet but with a lower sugar content. It is made with 4 parts liquid to 1 part sugar. The group consensus was that it tasted like watered down Kool-aid.
We opted for vanilla as our ice cream flavor. French style ice cream simply means it includes egg yolks. To make the ice cream, we mixed the milk, cream, part of the sugar, and vanilla bean in a saucepan and brought it to a boil. We whipped the egg yolks and the second part of the sugar together. Then we tempered the hot liquid with the egg-sugar mixture. We returned the mixture to the stove and bought it to Nappe (coating the back of a spoon). We then churned the mixture in an ice cream machine and placed into pyramid molds and topped with a dacquoise (a nut meringue cake). When turned out of the molds, the dacquoise was on the bottom which will absorb the ice cream as it melts.For the apple sorbet, we peeled green apples. We then blended the apple pieces in a food processor. Next we mixed in the water, granulated sugar and corn syrup. Once this was mixed to a fine puree, we added a little lemon juice. The sugar density range for a sorbet should between 16% to 18% so we tested the level with a Baume (baa-may) hydrometer. We adjusted the mixture to add a bit more sugar and then churned it in the ice cream machine. Because we added the lemon juice, the mixture turned out like a sour green apple flavor. This was my favorite sorbet that was made.Next we completed the parfait. A parfait is layered. The word actually means perfect layers. We decided on a white chocolate and raspberry parfait. To make the parfait we combined egg yolk and sugar and whipped over heat until the sugar was dissolved and the mixture thickened. Then we simply folded in cream that was whipped to medium peak, divided the mixture in half and added flavoring. For the mold, we lined a PVC pipe that was cut in half with acetate and secured the ends with acetate and cardboard. We layered the mousse alternating between the white chocolate and raspberry and then covered with dacquoises and froze. With the extra parfait, we also filled PVC pipes lined with acetate. We added dacquoises and nuts first and then layered the mousse and froze.
Ice creams that were made were by other teams included caramel, pistachio, and green tea. The caramel and pistachio ice creams turned out good however the green tea was not good at all.
 |
| Caramel Ice Cream |
 |
| Pistachio Ice Cream |
 |
| Green Tea |
Other sorbets made included mango, lemon, and raspberry. The lemon sorbet was also a favorite of the group.
 |
| Mango Sorbet |
 |
| Lemon Sorbet |
 |
| Raspberry Sorbet |
A raspberry granite was also made. A granite (grah nee tay) is like sorbet but with a lower sugar content. It is made with 4 parts liquid to 1 part sugar. The group consensus was that it tasted like watered down Kool-aid.
 |
| Raspberry Granite |